Before and after. (Yes, these are the same shirt, but I didn't take them in the same light, silly me.)

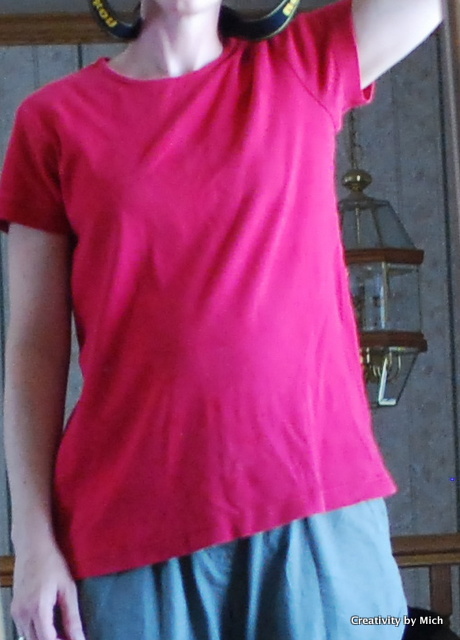
Ode to a Hand-Me-Down Maternity Shirt
Oh, maternity shirt from my sister
I'm only going to wear you for a short time
So I'm glad to not spend any more money
But your boat-like boringness
Makes me feel the same when I wear you.
How can I make this pregnancy more exciting?
Well, let's start with that hem. I unpicked the t-shirt hem. (Painful, but it gave me three more inches, and it was worth it.)

Then I shirred it with elastic thread seven rows.
If you'd like to know more about shirring, go here.
No reason for the seven, rows, except that if I line up the last row along my pressure foot, then I get seven rows from the first unpicked seam to the bottom of the shirt.
Then the neckline. I measured to the center of the neck, and then drew five lines about 4 inches long. The distance between them was about 1/2 inch. Then I sewed them with elastic thread.
Last of all, the sleeves: I did NOT want to unpick any more seams, so I cut them off. Then I sewed three lines about 8 inches long parallel to the edge of the sleeve., centered on the line down from the top of my shoulder.
I discovered that this line isn't along the shoulder seam, but a little more forward. It was necessary to try the shirt on and put a pin where I wanted my center to be.

Hey... I recognize that shirt! But you're right: It's much cuter after your alterations. Clever you. :)
ReplyDeleteMichelle, that's super cute! I'm totally impressed. I am not into sewing. So this type of creativity is really inspiring to me! Keep it up! Love you, Ruthie
ReplyDelete